We reviewed the WLANThermo Nano V3 last week and tipped Mark Heinis about this product. He was super excited and ordered a Nano V3 himself. After he received it, a Domoticz WLANThermo plugin was a matter of hours. 🙂
It’s still work in progress, but the Domoticz plugin is now able to get channel temperatures, and set the min and max temperature for all the channels.
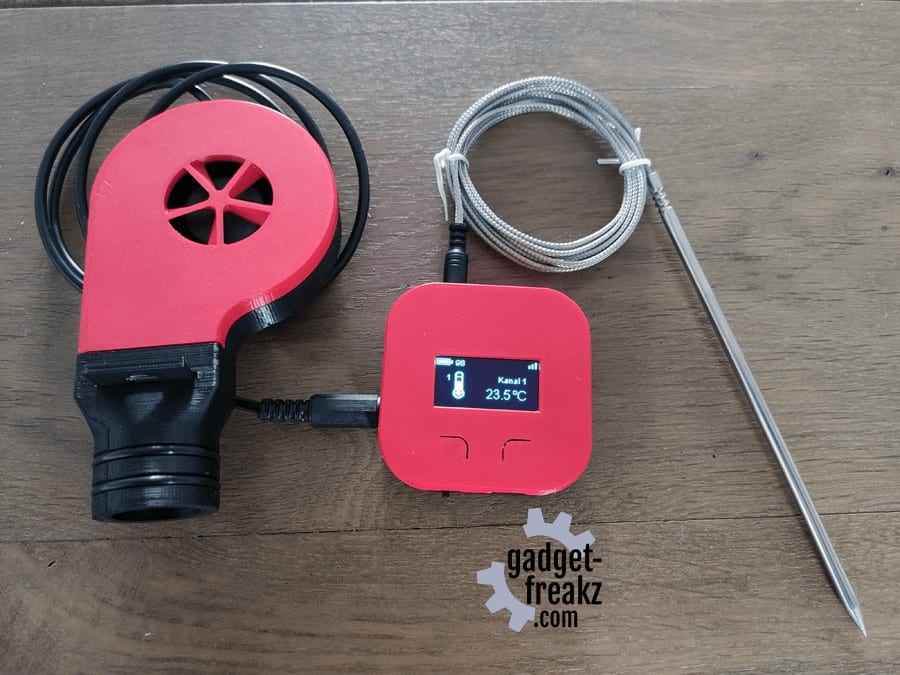
So how to integrate the WLANThermo Nano V3 into Domoticz
Total Time: 5 minutes
Contents
People install the Domoticz WLANThermo plugin from the github repo
https://github.com/galadril/Domoticz-WLANThermo-Plugin
Go in your Domoticz directory using a command line and open the plugins directory.
Run: git clone https://github.com/galadril/Domoticz-WLANThermo-Plugin.git
Restart Domoticz.
( Domoticz also has a python plugin manager that makes installation easier.. but i didn’t implement that yet.. soon!)
Then they have WLANThermo in their Hardware configuration list in Domoticz

As soon as they activate (/configure) the hardware *(set a ip address), all the channels that are available are populated as devices within Domoticz:
( There is only one channel active at the moment)
They can now add these devices to Domoticz and start using them.
Every channel has 1 temperature device, which shows graphs:
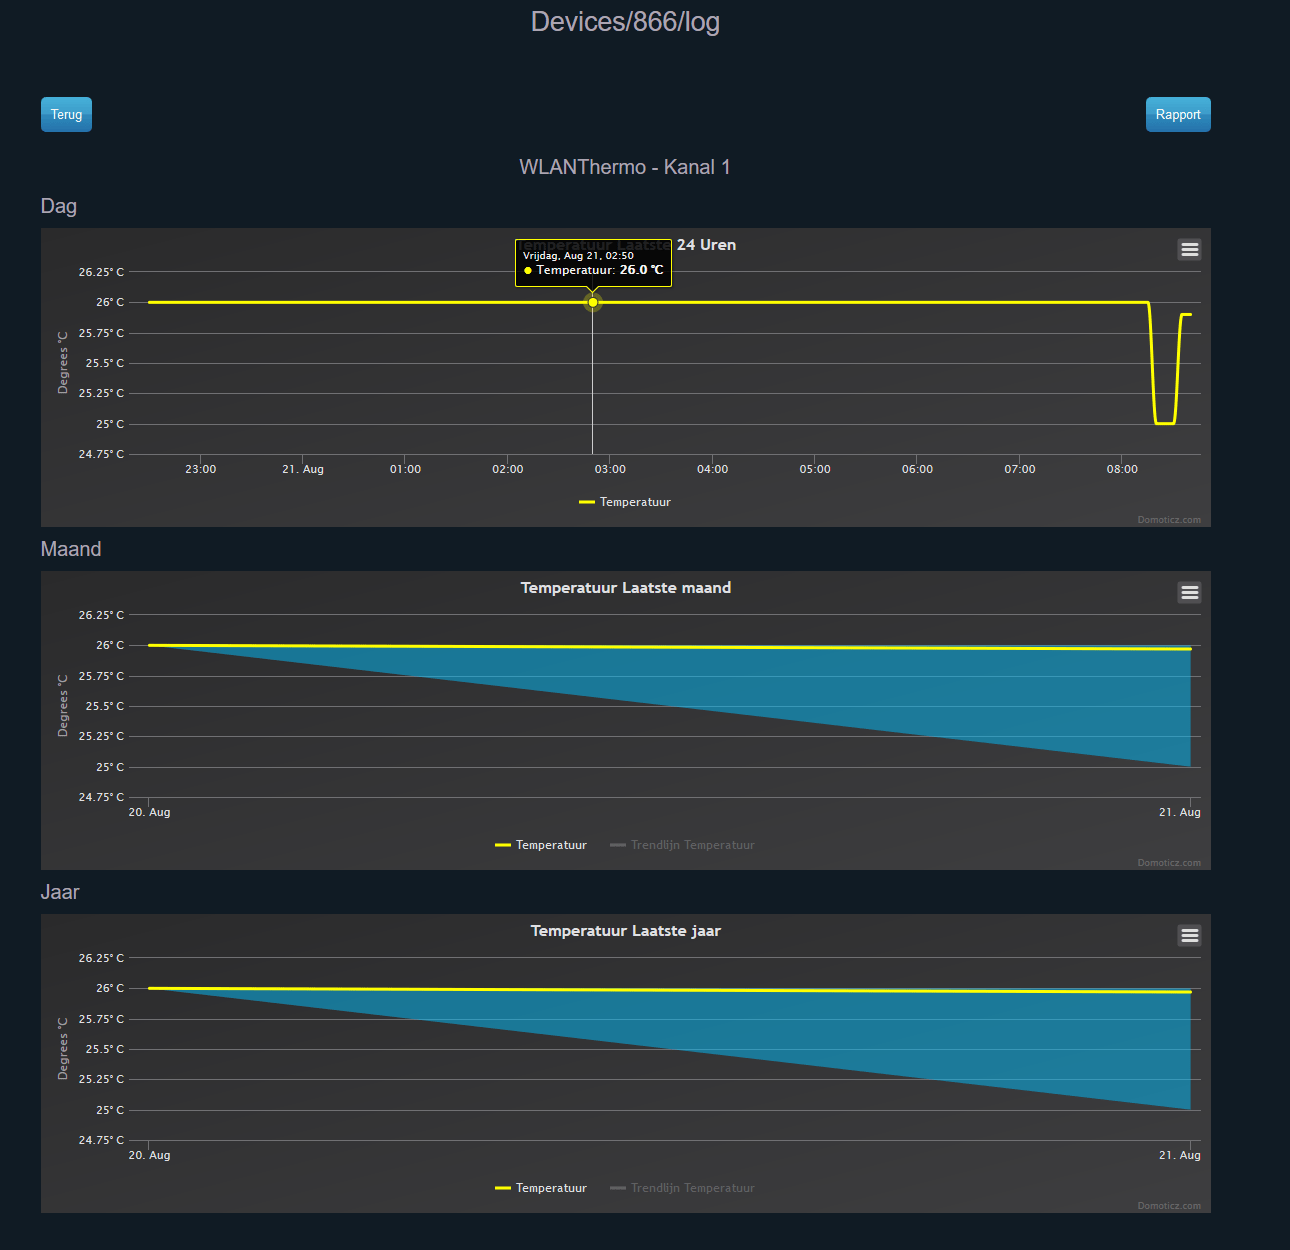
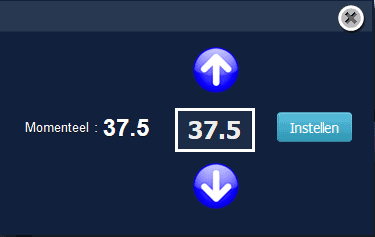
And every channel has now a min and max SetPoint device, on which you can set a min and max value:
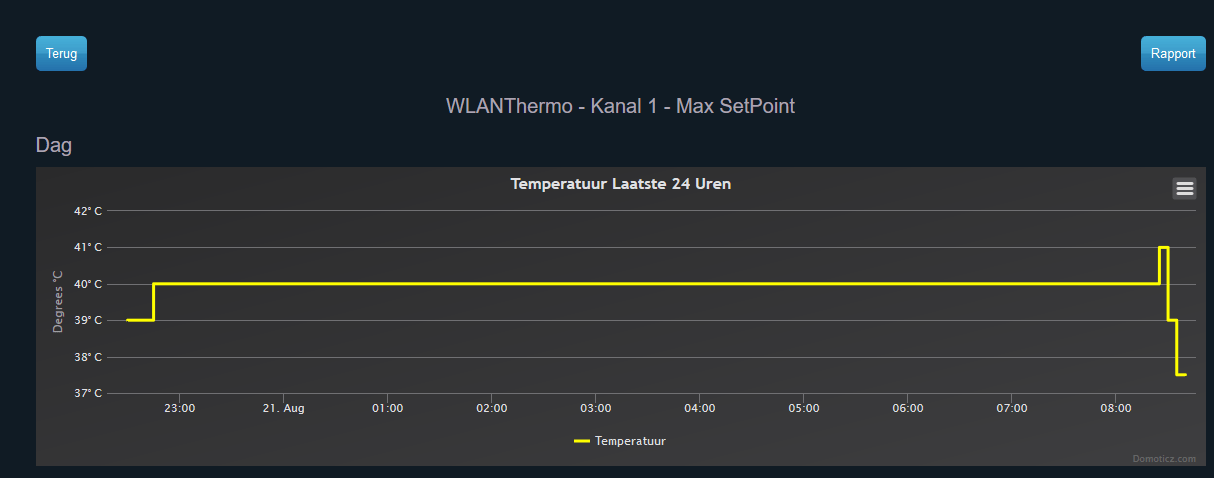
SetPoint devices also have a log/graph
Set temperature
Check charts
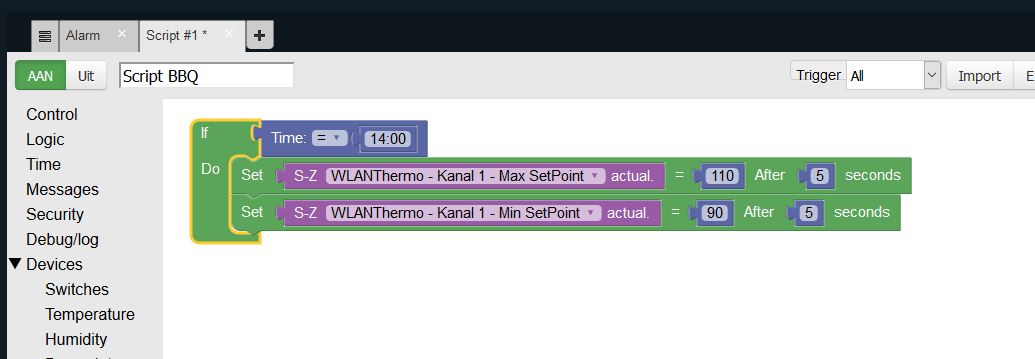
Now all the channels are available within Domoticz, we can start to do some automation with Blockly/Python/Lua/dVentz/etc:
Big thanks to Mark Heinis. He already post some images from his first run with the Domoticz integration at the WLANThermo forum: https://wlanthermo.de/threads/domoticz-wlanthermo-plugin.1337/#post-6328
