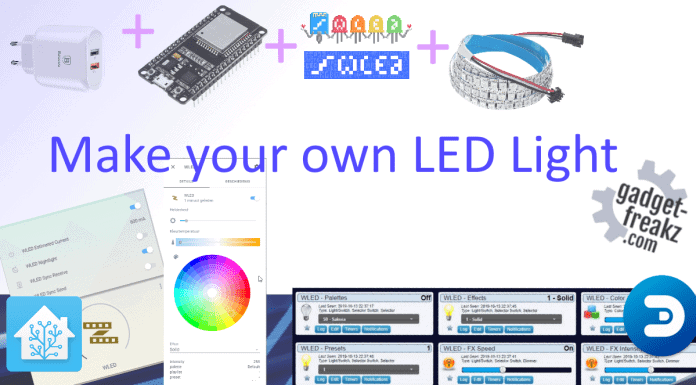
I have a lot of led strips around my house but none of them where addressable, which means a strip has the same color over the whole length. But on my searching for new things to explore, to test and write about, I found something nice: unique addressable LED Strips. I looked at several video’s and I knew that this would be awesome!
The ws2812b led strip is cheap, can be attached onto a esp board that act as a controller and with some open-source software flashed to it, the possibilities are endless.
Several ideas popped up: Parking sensors, DIY Ambilight, lights that react on music, lights with messages on it, DIY LED lights that acts as HUE’s or candles. So I ordered a bunch off stuff on Banggood and a week later I had a desk full of products.
In this article we try to explain how it works, how it can be integrated in your smart home and we give some examples to inspire you.
Contents
What did we ordered to start?
Of Course you start with an ws2812b led strip. But they come in different variants:
- 5v/12v, 5v is cheaper and when you use below 2 meters the nodemcu can deliver enough power. When more than 2 meter is required you can better choose for the 12v versions and power them seperate. the 12v variant called: ws2815
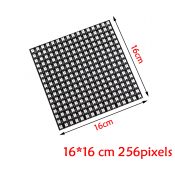
- Different lengths, or shapes like a matrix, and a different amount of LEDs per meter,
- waterproofing for indoor IP20 IP30, for in bathrooms IP65 because only the topside is protected, for a full outdoor protection IP67.
What they all have in common: the ws2812b led strips are affordable and highly available.
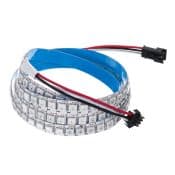
We chose some 5v variants for indoor usage:
LED strips
Controllers
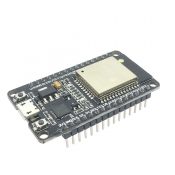
ESP8266 and ESP32 with 4mb memory can act perfectly as controllers. The esp chips are widely available on Aliexpress and Banggood, under several brands in several forms. I prefer the NodeMCU, because the pins that are already attached to it.
The ESP32 is the successor of the ESP8266 and advantages of the ESP32 over the older ESP8266 are: A faster dual-core processor, Bluetooth, touch sensors and hardware encryption and code signature.
The ESP8266 for this project is just fine and a little bit cheaper, but if you want to re-use the controller for another project in the future you’ll be better off with a ESP32.
Power
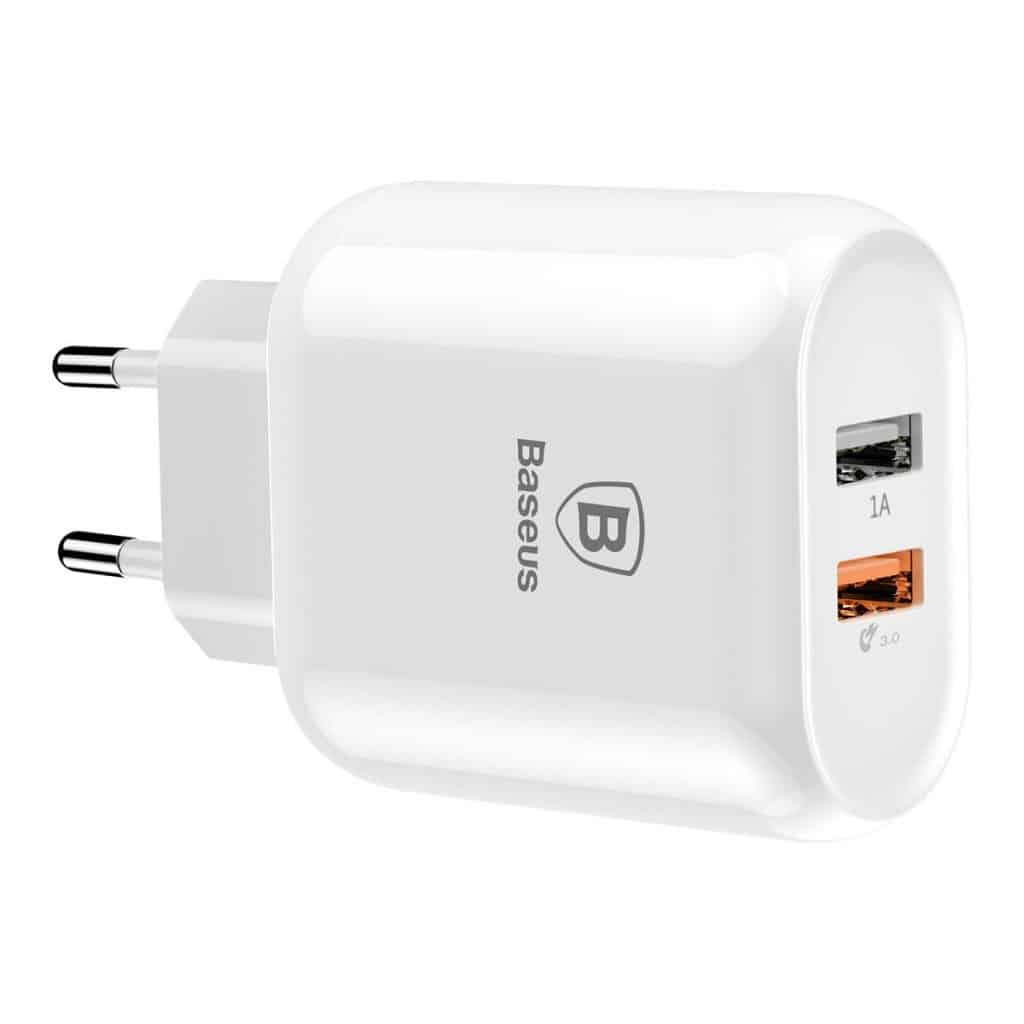
USB Power adapter
Baseus Quick Charge 3.0 Dual USB 5V/3A
Lets build a DIY Light
When using 2 meter (or less) LED strips (with 60 LEDs per meter) the Nodemcu delivers enough power. In the software you can enter the amount of leds your have and it calculates the needed power supply.
An example of my strip of 1 meter with 144 leds in WLED:
LED count: 144
Recommended power supply for brightest white:
5V 9A supply connected to LEDs
(for most effects, ~3A is enough)
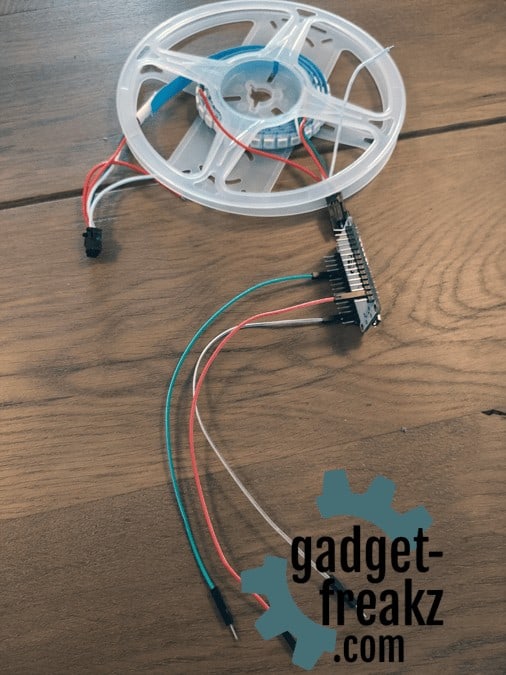
Be sure you connect the right pins. in esp8266 it’s D4, I toasted 2 ESP32 boards when connecting the wrong pins. OOPS!
| Wire Color | Summary | Pin |
|---|---|---|
| Red | 5V Power | Vin |
| Black | Ground | GND |
| Green | Digital out. The D4 pin give the data to the LEDs. | D4 |
| Wire Color | Summary | Pin |
|---|---|---|
| Red | 5V Power | Vin |
| Black | Ground | GND |
| Green | Digital out. The data pin tells the LEDs what to do. | GPIO16 |
The software side

We choose for WLED as software on the controller, because it has a great community and is continuously developing. It hosts a website on the controller that gives you a lot of options to control the lights, but also some settings to control it from an app, smart home or other software.
Some features of WLED:
- WS2812FX library integrated for over 100 special effects
- FastLED noise effects and 50 palettes
- Modern UI with color, effect and segment controls
- Segments to set different effects and colors to parts of the LEDs
- Settings page – configuration over network
- Access Point and station mode – automatic failsafe AP
- Support for RGBW strips
- 16 user presets to save and load colors/effects easily, supports cycling through them.
- Macro functions to automatically execute API calls
- Nightlight function (gradually dims down)
- Full OTA software updatability (HTTP + ArduinoOTA), password protectable
- Configurable analog clock + support for the Cronixie kit by Diamex
- Configurable Auto Brightness limit for safer operation
Flash/install WLED
You can install WLED (it’s called flash firmware if you install it on an ESP8266 or ESP32)
Steps to install WLED on your ESP controller
Total Time: 15 minutes
download espflasher
Download WLED
Download the latest release for your ESP from https://github.com/Aircoookie/WLED/releases
Flash your ESP on you computer
upload the downloaded zip file to your ESP. If you are flashing a esp32 you have to hold the boot button on the esp while flashing.
Unplug and connect it to a USB charger
When the LED on the nodemcu is blue it’s ready to do the first setup
First setup
When flashing is ready and the ESP is booted you are ready to setup. The ESP has an integrated Access Point functionality.
Pick up your phone, go to the wifi settings and find the new WIFI network: WLED-AP.
Connect to the
1 | WLED-AP |
1 | <strong>wled1234</strong> |
The website is responsive and works out of the box on every device and browser. But beside the website you can also use native apps: WLED iOS App WLED Android App
WLED integration in Home-assistant
WLED is installed and on. Open settings > integrations. The WLED is automatically found, otherwise you have to click +, choose WLED and enter the name of IP of the WLED.
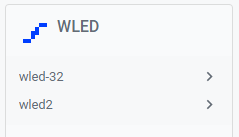
Multiple WLEDs 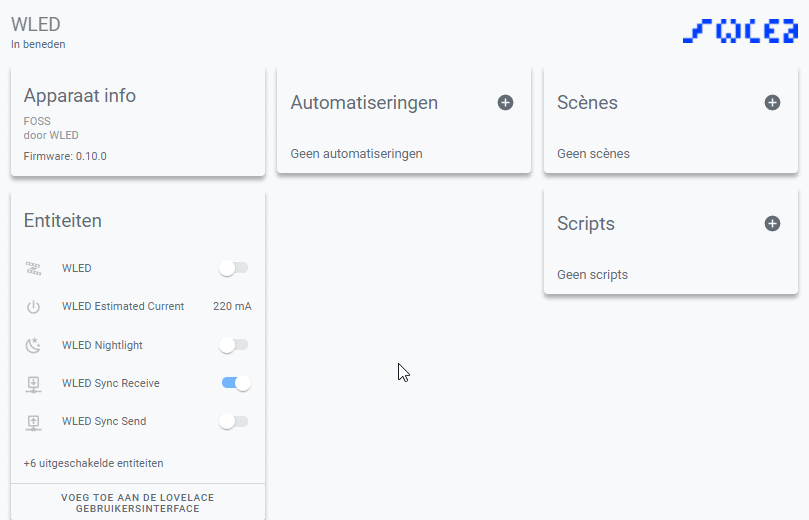
WLED integration 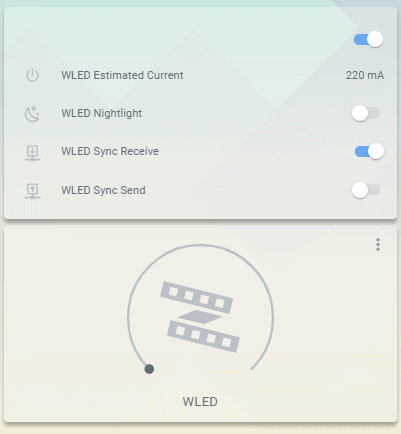
WLED in lovelace 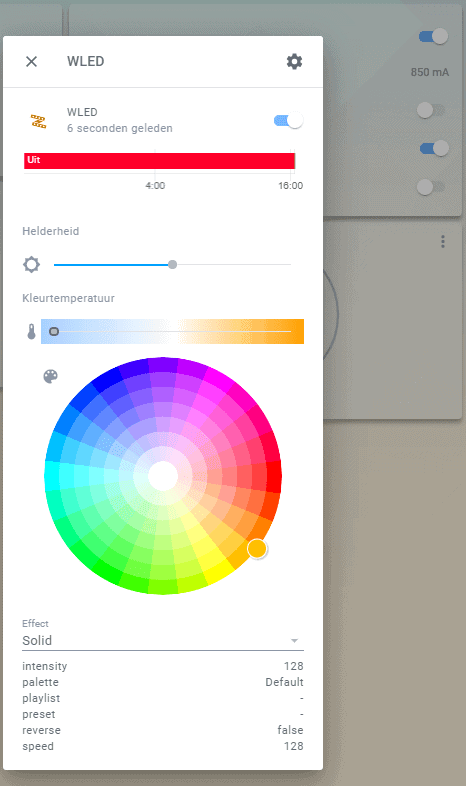
color picker
WLED integration in Domoticz
A dutch guy with the nickname Frustreermeneer made a plugin for Domoticz to integrate WLED.
Source: https://github.com/frustreermeneer/domoticz-wled-plugin.
This plugin can be installed through the plugin installer we mentioned in another article, but can also be installed with the manual steps below.
- Clone repository into your domoticz plugins folder
2
git clone https://github.com/frustreermeneer/domoticz-wled-plugin.git wled
- Restart domoticz
- Make sure that “Accept new Hardware Devices” is enabled in Domoticz settings
- Go to “Hardware” page and add new item with type “WLED”
- In WLED -> Sync Interfaces: enable UDP Broadcast and turn on notifications (see screenshot below).
Once the plugin is started it will create appropriate domoticz devices. You will find these devices on
1 | Setup -> Devices |

WLED sync settings

WLED sync settings
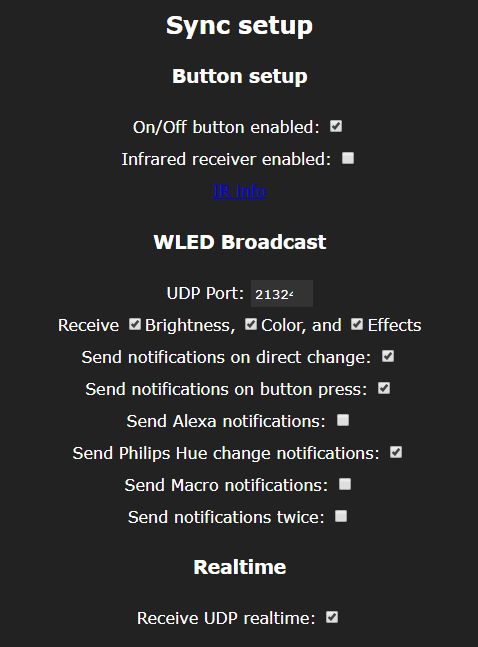
Discussion about this plugin: https://www.domoticz.com/forum/viewtopic.php?t=29669
IKEA Hack a WLED led strip in a Table light
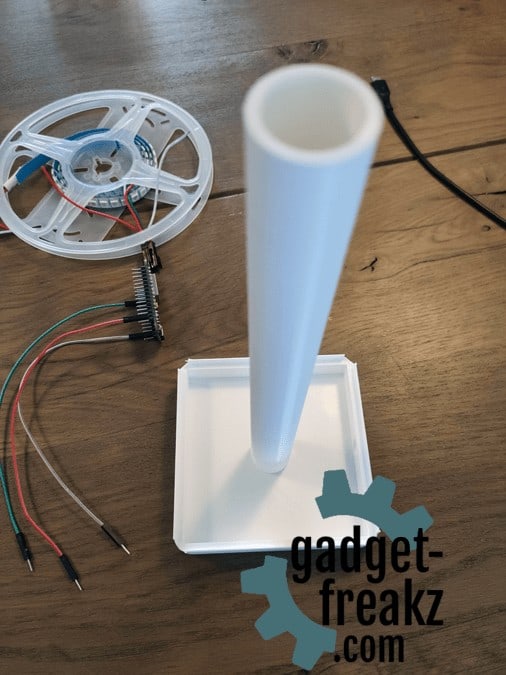
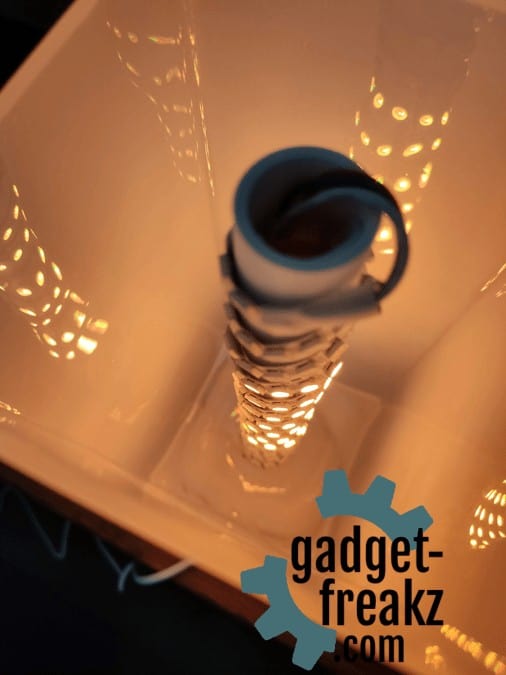
The IKEA Grono is a 6 euro table light with frosted glass. We don’t use the included lightbulb, because we want to use a 1 meter ws2812 ledstrip. We used a 3D Model to print: https://www.thingiverse.com/thing:4303042
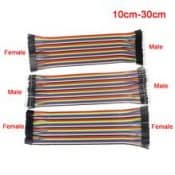
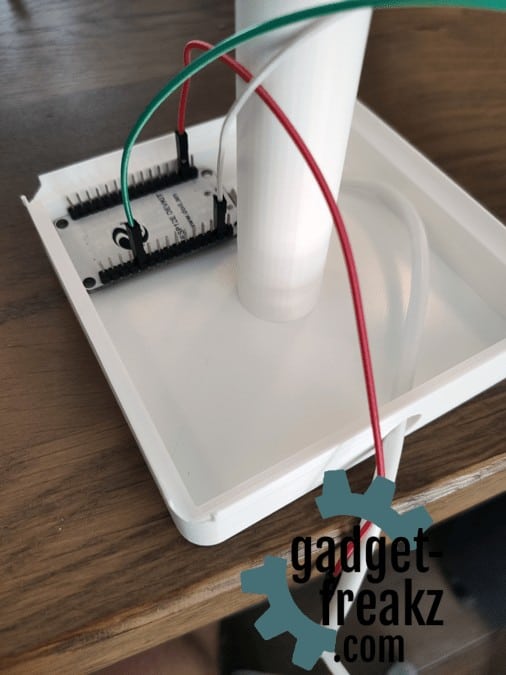
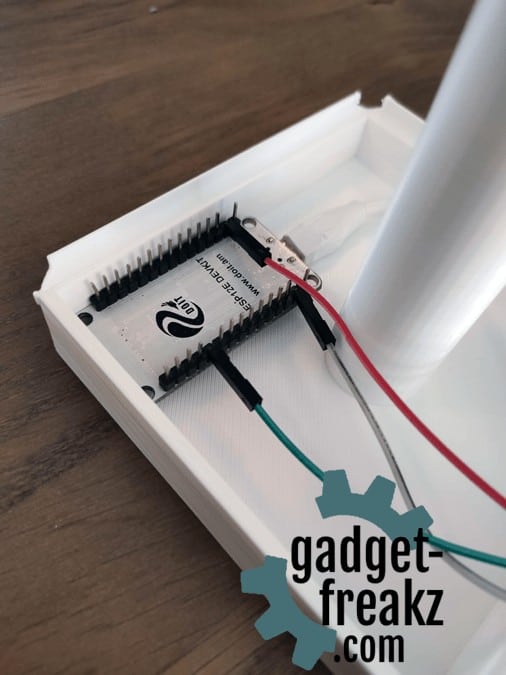
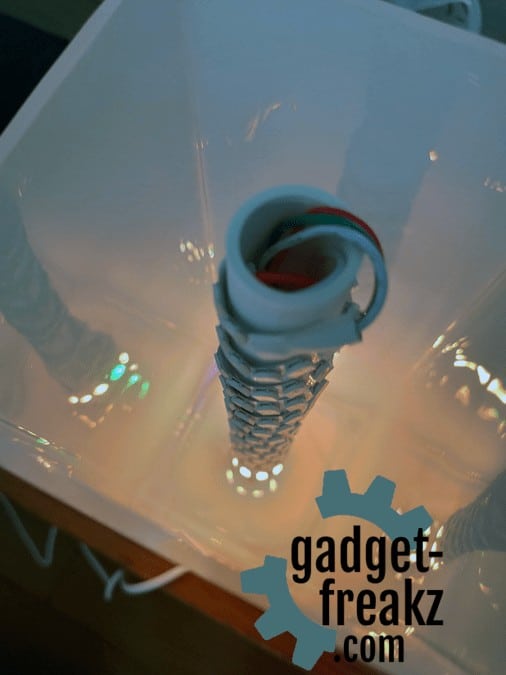
This way we can put the NodeMCU under the glass so you can’t see it. We used the jumper cables so we don’t have to solder, and can re-use everything for other projects in the future. I bend the pins with the jumper wires attached to it, because there was not enough space. The ws2812b LED strip has a 3m sticky side.
results:
Where to buy?


Advanched
WLED gives you the option to integrate it with almost everything. In the future we will write separate articles about Xlights and Hyperion. But if you built your own WLED you can also search the internet for Xlights and Hyperion tutorials!
Xlights
xLights is a free and open source program that enables you to design, create and play amazing lighting displays through the use of DMX controllers, E1.31 … WLED can communicate with Xlights. For more information and the software itself: https://xlights.org/
Hyperion
Want to make your own Do It Yourself Ambilight? Than Hyperion is your best option. The software can be installed on a raspberry Pi and receive the frames and send the light commands to your WLED.
Commercial alternatives
Philips Hue has got some new products, one of them is the Hue Play gradient lightstrip. This is a nice strip, but comes with a price of 180 euro and Hue Bridge or Hue Sync Box are a required! So we think a WLED with the components and the software Hyperion is a much cheaper but also a nicer option!


