This is a spin off from the Domoticz Zigbee article, to build and integrate your Zigbee Gateway into Home Assistant requires a slightly different approach, but some of the steps are similar.
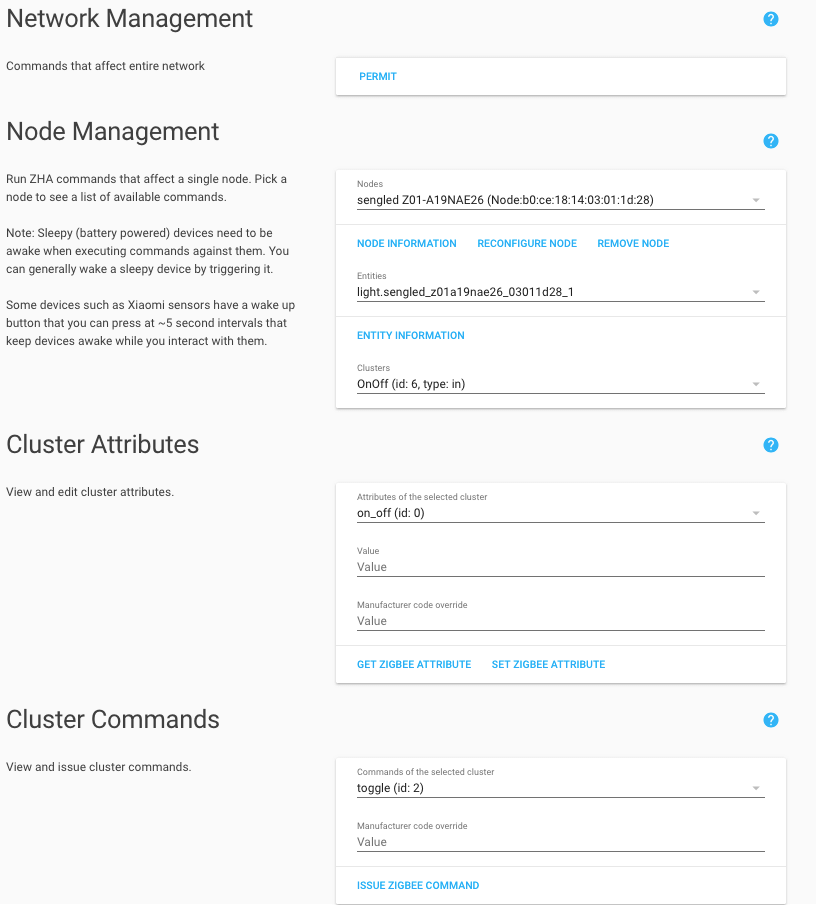
Since version 0.86, Home Assistant has a new feature: the Zigbee management console. This provides users the possibility to use there own Zigbee dongle/card and due to the native implementation the functions are the same. Actually like the native Z-wave implementation. So you can now easily manage your Zigbee network and perform basic things like: Permit and Remove operations, configure nodes etc. But later this year more features will be added.
Lots of folks already have some smart hardware from brands like Hue, Ikea or Xiaomi. And every brand has its own separate bridge or gateway. They are all using the Zigbee protocol. There are some dongles available that can communicate with several brands, but the downside of some of them is that they are not really open-source, or not that cheap or not plug and play. We think the native implementation in Home Assistant is going to change this.
Because the feature is in an early stage, still a lot of work needs to be done. But that Zigbee is growing is a fact, every platform is busy with it and the sticks are often low on stock because of the growing popularity.
Contents
What about Zigbee2mqtt in Home Assistant?
Background
You probably heard of the Zigbee2mqtt addon. This is an Open Source developer started by Koen Kanters (Koenkk). Zigbee2mqtt takes another approach. It’s free software, totally open-source and the software you can upload (flash) is on very cheap hardware.
It aims to develop a Zigbee to MQTT bridge, so you only need a single Zigbee gateway. That means that it is not running in the native Home Assistant Zigbee implementation yet, but that is not a problem because the community of zigbee2mqtt, the documentation and the add-on are really good.
So why should we care about this project?
This project contains very good documentation and has great potential. In a few steps, you are able to get rid of the popular Xiaomi gateway that sends your data to China. With low cost hardware, you can create an open source gateway that is usable for systems like Domoticz of Home Assistant.
A pro is that it’s cheap, fun, and due too the automatically MQTT discovery close to the native implementation. Another advantage is that it’s easy to switch and test another smart home platform like Domoticz, because it runs as a separate instance. This is also a downside, because there needs to be a seperate MQTT broker running.
But maybe later this year you can use your flashed gateway and use it with the native implementation. Who knows.
Getting started with Zigbee2mqtt
To create your own Zigbee Gateway There are multiple options; different types of hardware, flashing modes and besides a Raspberry Pi, you can run the software in a separate Docker Container. Our favorite method: Flashing the hardware on windows and running the software on a Raspberry PI with Hassio on it. And for Hassio there is an add on for it, so when you are looking for a easy way, this is it!
If you are in need of other ways you can read the information on the wiki of the zigbee2mqtt project.
3 Easy steps to get rid of your gateways and bridges:
1: Buy the hardware
2: Preparing the hardware
3: Install the software
Buy the right hardware
You only need the CC debugger and the downloader cable once to flash the firmware on the USB sniffer so it can operate as a Zigbee gateway. But its handy to keep so you can create more gateways in the future. Or you can buy it together with your friends and share the debugger and downloader cable to save some money. 😉
-
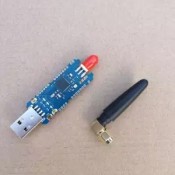
Simplelink CC2652 2.4G Zigbee2MQTT stick
Buy at AliExpress -
Sale!
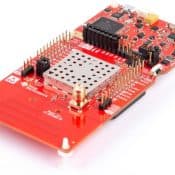
Wireless Zigbee CC1352P Sniffer Bare Board
Original price was: €55,00.€50,00Current price is: €50,00. Buy at AliExpress -
Sale!
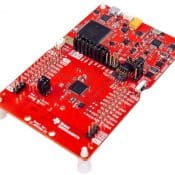
Wireless Zigbee CC2652R Sniffer Bare Board
Original price was: €75,00.€72,00Current price is: €72,00. Buy at AliExpress -
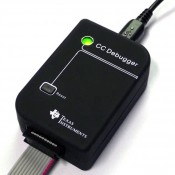
CC debugger ZIGBEE CC2540 CC2541
€10,00 Buy at Ali Express -
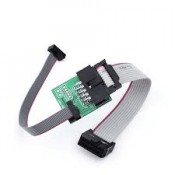
GBAN cabling interface downloader cable to flash zigbee stick
€3,39 Buy at AliExpress -
Sale!
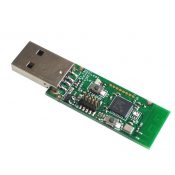
Wireless Zigbee CC2531 Sniffer Bare Board
Original price was: €10,00.€3,00Current price is: €3,00. Buy at banggood
Prepare Hardware (Flashing)
There are several ways to flash the sniffer. This is described very well on the getting started page of the zigbee2mqtt wiki. We followed the instructions for Windows and Linux and you can choose which you prefer the most.
Linux (Raspberry Pi)
Connect the CC2531 USB to your Raspberry Pi
1 2 3 4 5 6 7 8 9 | ls -l /dev/ttyACM0 git clone https://github.com/dashesy/cc-tool.git cd cc-tool ./configure make --Download the firmware wget https://raw.githubusercontent.com/Koenkk/Z-Stack-firmware/master/coordinator/CC2531/bin/CC2531ZNP-Prod.hex --or: curl https://raw.githubusercontent.com/Koenkk/Z-Stack-firmware/master/coordinator/CC2531/bin/CC2531ZNP-Prod.hex -o CC2531ZNP-Prod.hexsudo ./cc-tool -e -w CC2531ZNP-Prod.hex |
Windows
We bundled the prerequisites for Windows with:
Flasher software, driver and firmware in 1 zip. Download HERE.
- Install SmartRF Flash programmer.
- Install the CC debugger driver.
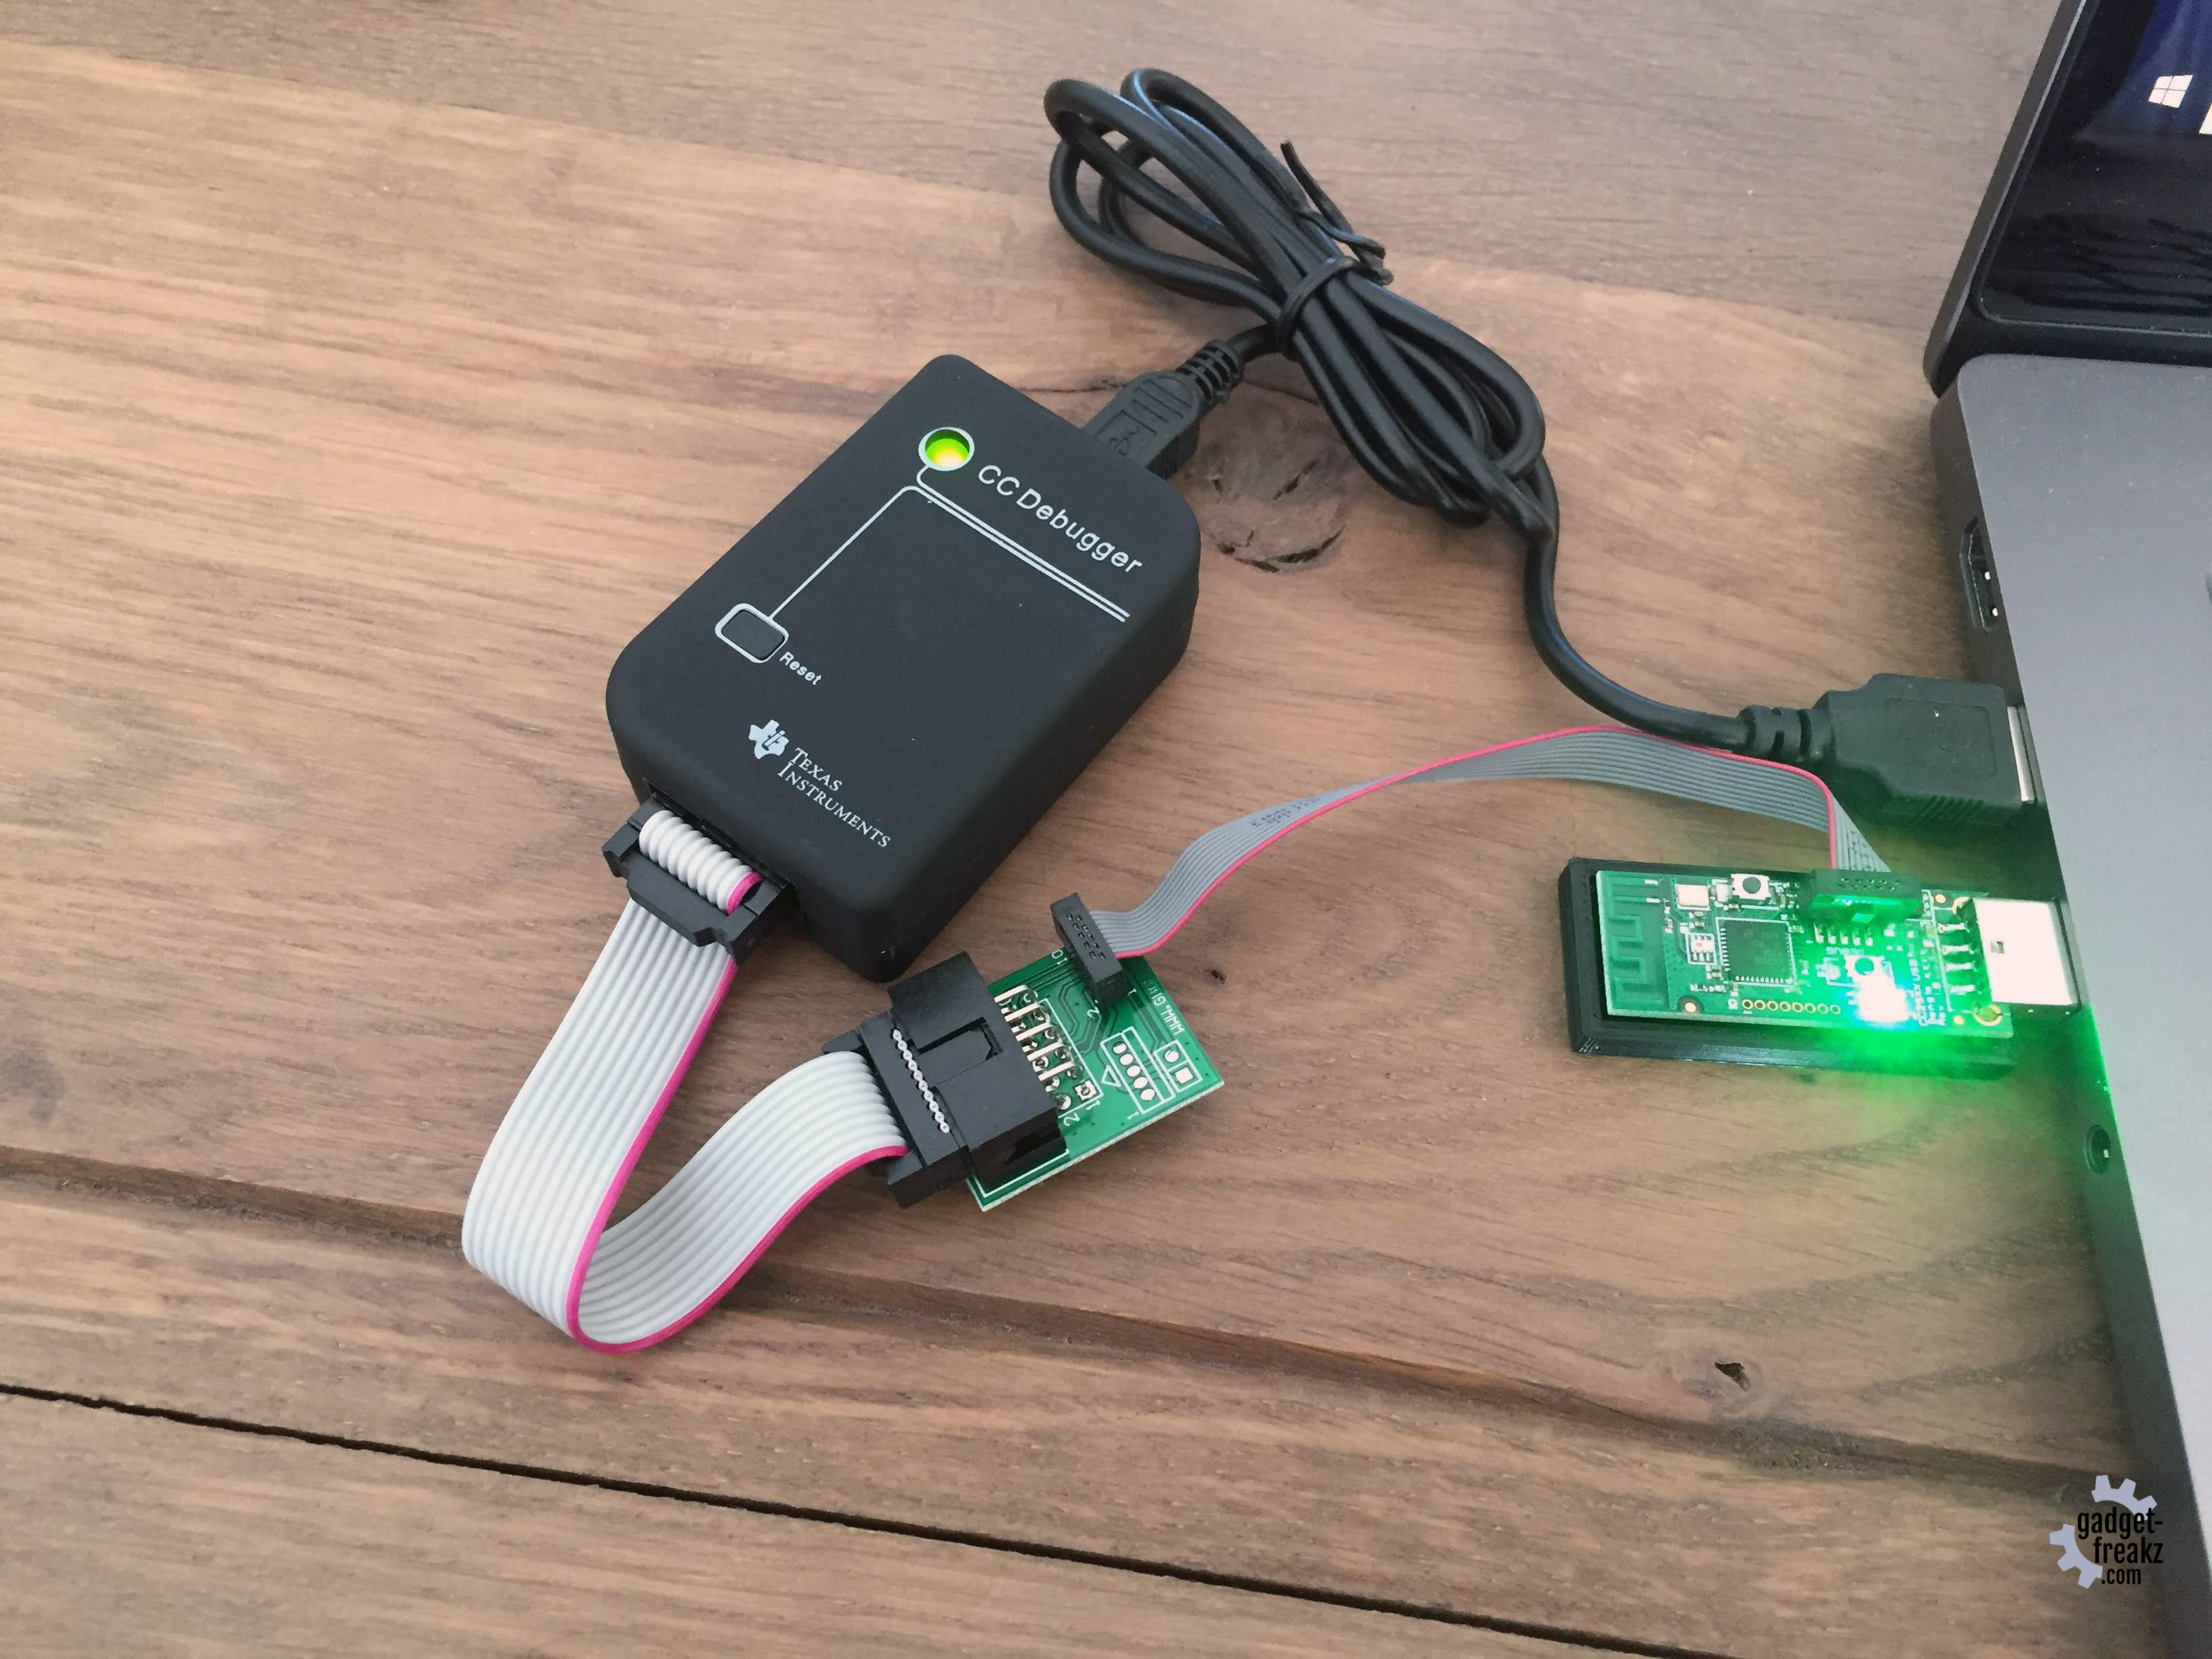
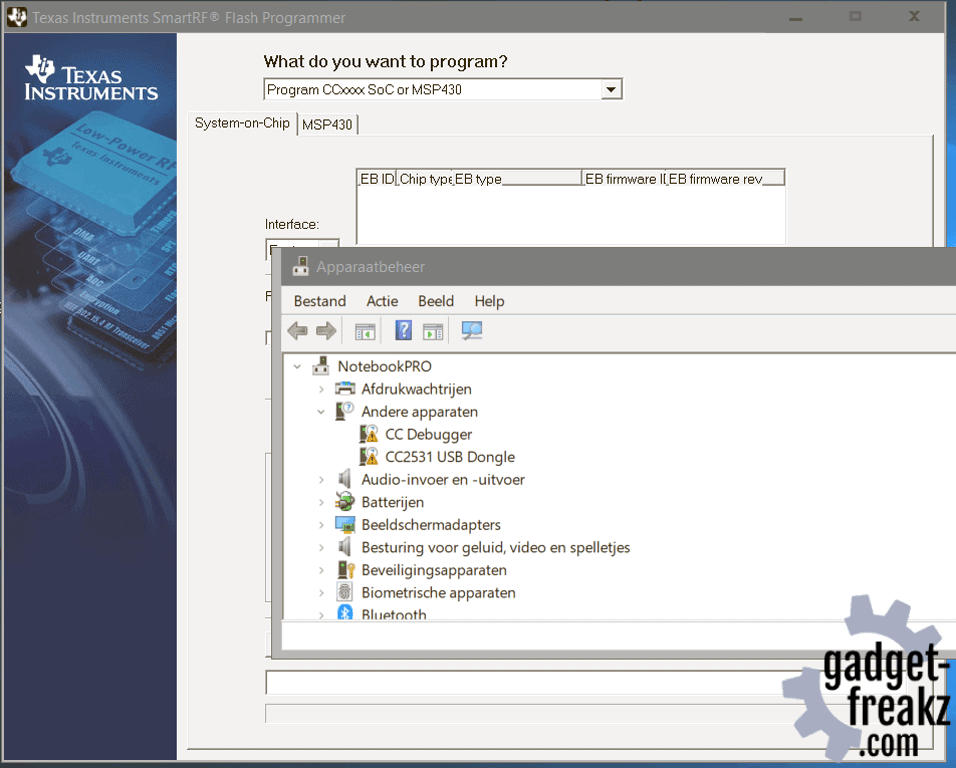
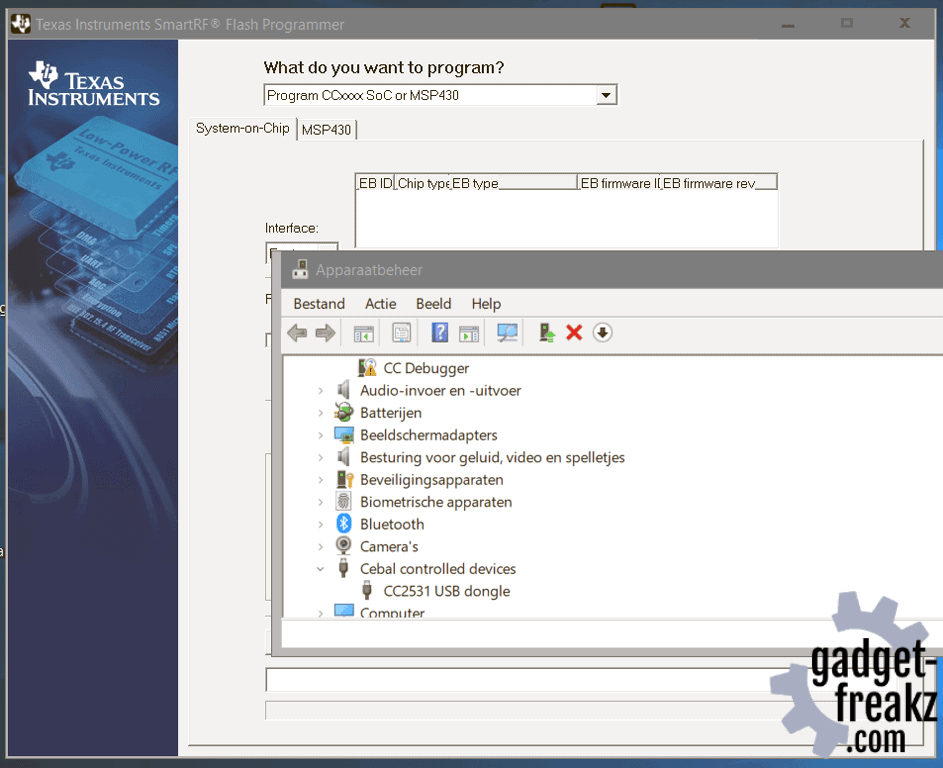
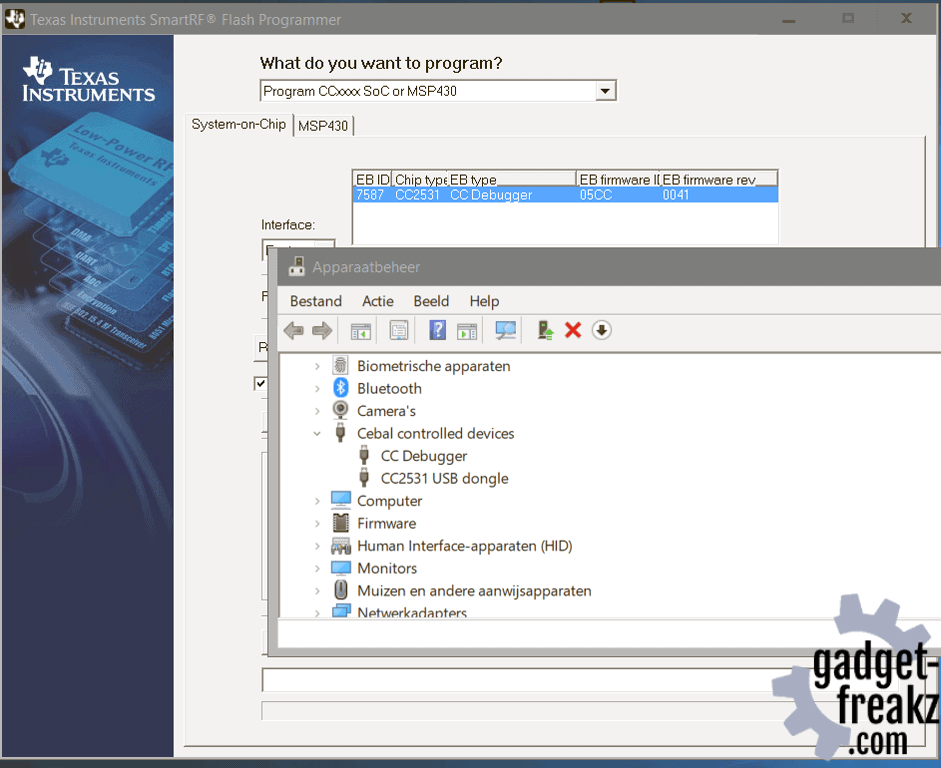
- When I used the setup the installation was not correct, and manually pointing to the drivers was needed. See the screenshots below.
- Connect the debugger with the Downloader cable to the cc2531 USB Sniffer.
- Connect both USB (from debugger and Sniffer) the same time.
- If the light on the CC debugger is RED, press
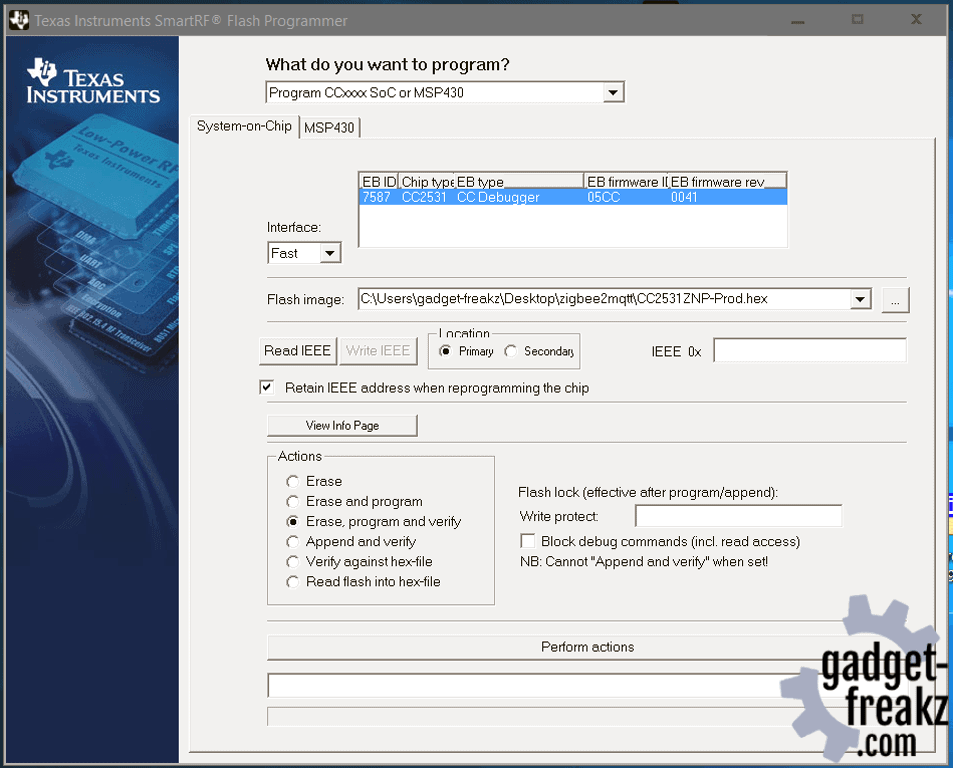
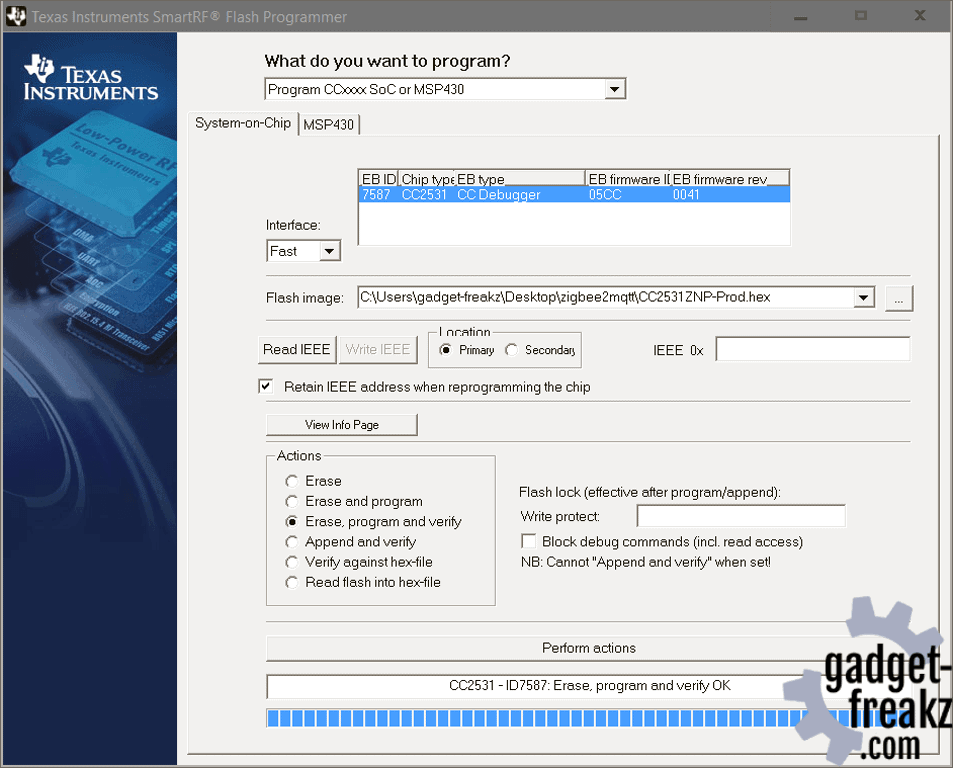
set reset button on the CCdebugger . The light on the CC debugger should now turn GREEN. - Start SmartRF Flash Programmer,
setup as shown below and click “Perform actions” .
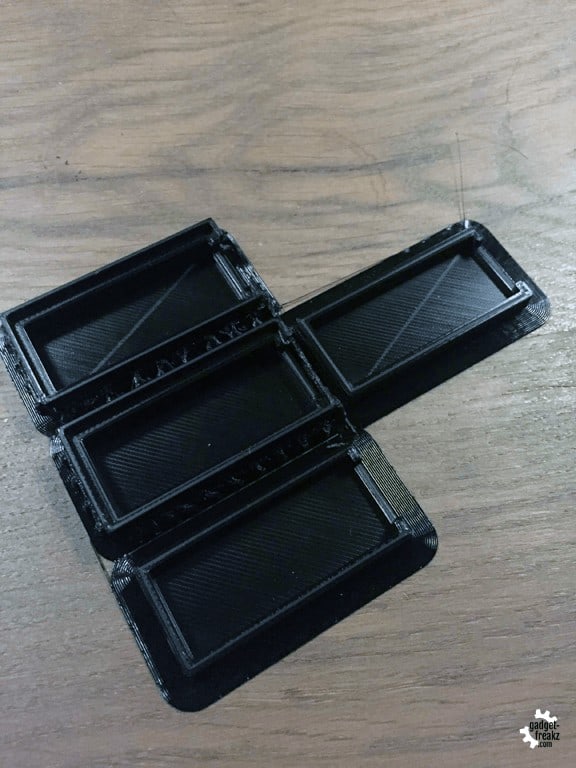
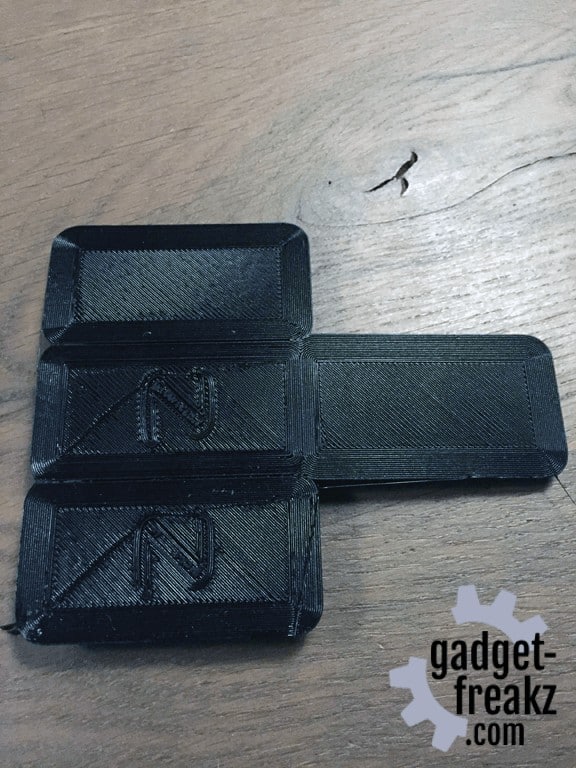
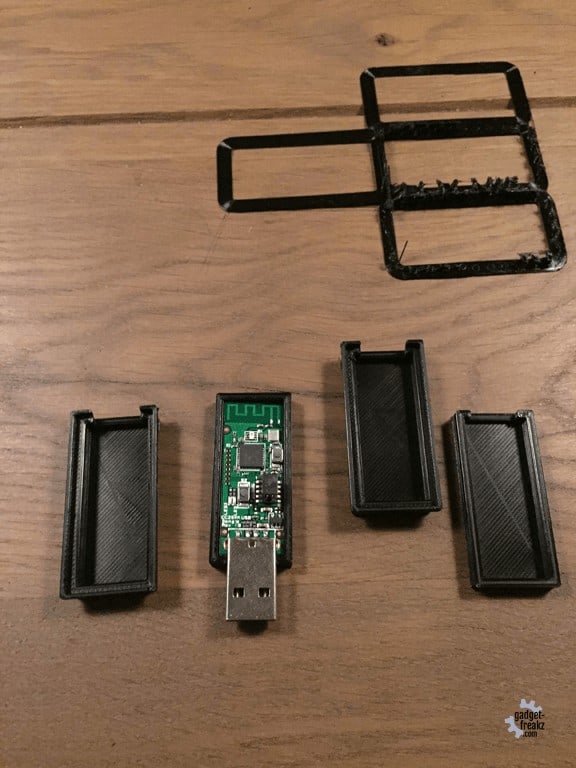
Put the USB Sniffer in a nice case
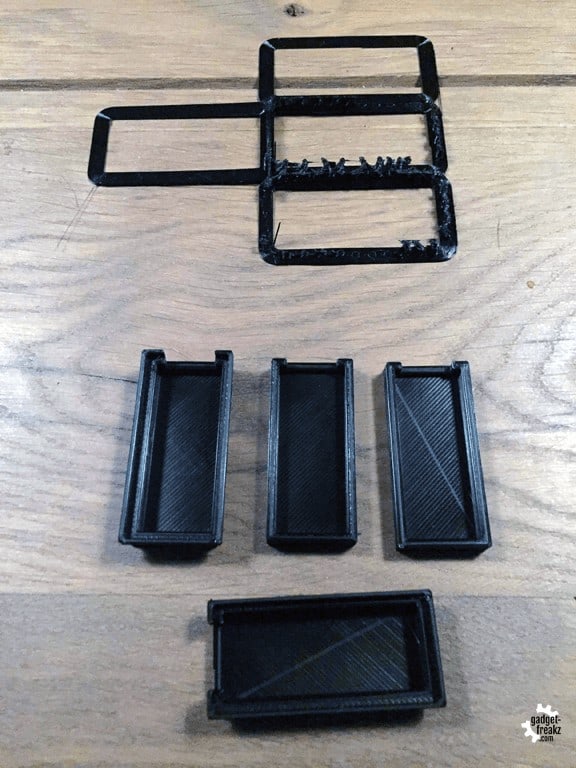
When the sniffer is flashed you can put it on your Raspberry, but a PCB with a USB connector is not that fancy. So when I searched on thingiverse I found a nice design (link to 3d model) that I printed.
Install the (Zigbee gateway / bridge) software (Hassio Zigbee addon)
Total Time: 5 hours
Put the stick into the raspberry
Go to: Hassio> Add-on store and Add the repository URL : https://github.com/danielwelch/hassio-zigbee2mqtt
The repository contains two add-ons:
zigbee2mqtt and zigbee2mqtt-edge (a stable and a beta version) We choose stable. It can updated by hassio. When new things addes in the edge version and the are tested well, it will be included in stable. A little bit later but rock solid stable 🙂
Configure zigbee2mqtt addon
You need to setup a mqtt server like mosquitto of use the buildt-in mqtt option. I installed mosquitto from the hass.io add-on store.
The addon can be configured in the website.
Hass.io > Under Dashboard you can click on ‘zigbee2mqtt ‘
here you can start, check logs, update and change your settings.
This are the settings:
2
3
4
5
6
7
8
9
10
11
12
13
"data_path": "/share/zigbee2mqtt",
"homeassistant": true,
"permit_join": true,
"mqtt_base_topic": "zigbee2mqtt",
"mqtt_server": "mqtt://homeassistant",
"serial_port": "/dev/ttyACM0",
"devices": [],
"network_key": [],
"mqtt_user": "your mqtt Username",
"mqtt_pass": "your mqtt password",
"disable_led": true
}
permit: it’s better so set it on true when adding new devices, otherwise set it back to false.
mqtt_server: change this if you are running a server with another name otherwise leave it default
serial_port: In hass.io go to: hass.io > system > hardware. Under serial you see the USB devices connected, use the right one and check the logs to find out if you are doing right.
username and password: needs to be changed by the one you are using.
The cc2530 has a led on it, here you can enable/disable if you like.
After making changes restart the plugin and check the log lines at the bottom of the page for messages or errors.
Finished
At this point, you are actually running a Zigbee gateway.
Now you are able to pair devices with zigbee2mqtt, but it’s in MQTT and not yet in your home-automation software. Learn how to pair. When you have it working all right you can check the integrations of home-assistant and see mqtt.
after that you can pair and the new devices would appear here,
Configure from gui/dashboard
If you like to change the options from the dashboard instead of changing configuration text in the plugin, like the screenshot below:
Add into the code into your configuration.yaml or include a seperate file from: https://gist.github.com/ciotlosm/59d160ad49c695a801d9a940a2a387d2

Zigbee map
User robin made a very nice component to display you zigbee network by image:

Important: you have to clear the browser cache after each update
Instructions
- Download or clone https://github.com/rgruebel/ha_zigbee2mqtt_networkmap 42
- Copy “custom_components/zigbee2mqtt_networkmap.py” to your “custom_components” folder.
- Copy the folder “www/zigbee2mqtt_networkmap” and content to your “www” folder.
- Add the following to your configuration.yaml. It is possible to update the map directly via button. If you want to use this functionality you also have to activate the webhook component
You can set the graphviz engine via URL Parameter:1webhook: zigbee2mqtt_networkmap: panel_iframe: networkmap: title: 'Zigbee Map' url: '/local/zigbee2mqtt_networkmap/map.html' icon: 'mdi:graphql'
map.html?engine=circo (Default: dot, Supported Engines 7) - Restart Homeassistant
- Call the service “zigbee2mqtt_networkmap.update”
- Test if everything is working
We thank robin for his work. more info at his topic: https://community.home-assistant.io/t/zigbee2mqtt-show-the-networkmap-in-home-assistant/
Updating the Add-on and
1
zigbee2mqtt
Library
1 | zigbee2mqtt |
The stable, versioned zigbee2mqtt can be updated using the standard Hass.io update functionality within the user interface. This add-on will be updated with bug fixes and as the underlying zigbee2mqtt library is updated.
Thanks to
Discount coupons
-
Design
-
Quality
-
Usability
-
Home-Automation compatibility
-
Price


